

Your cart is empty

Tempering chocolate: the basis for a perfect result
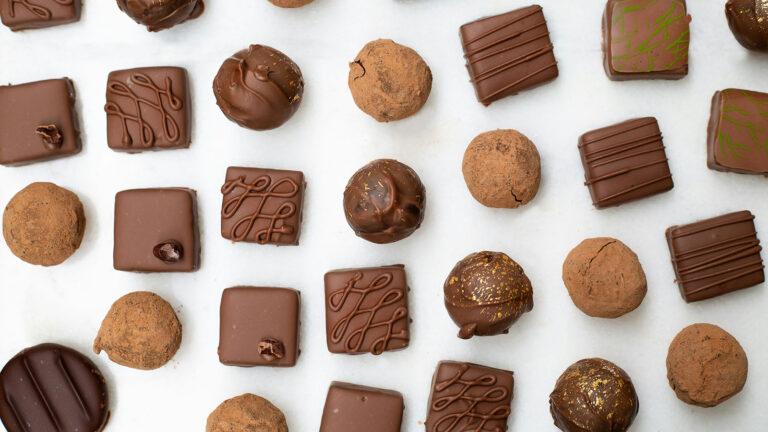
You can recognise a perfect praline by its gloss, its hardness, its contraction and its clean snap. Less successful pralines have no shine, show grey patches, melt quickly on contact with the skin and have a grainy texture. The cause is almost always the same: the crystal structure of the cocoa butter in the chocolate.
Why chocolate changes when it melts
Anyone who has ever melted butter knows that it looks different once it has set again: discoloured and grainy. The same thing happens with chocolate. The culprit is the cocoa butter. Cocoa butter is a polymorphic fat: it can crystallise in six different forms, each with its own melting point. Only one of them, the beta form, is stable. And that is precisely the form you need for gloss, a hard snap and strong contraction.
So what is tempering?
A block of couverture contains those stable crystals in large quantities. But to be able to work with chocolate, you first have to melt it. The recommended temperature for this is around 45 °C: at that point all the crystals are certain to have melted and there is no risk of burning. The downside is that the stable crystals disappear too. To arrive at a good end product, you therefore have to create enough stable crystals again. We call that process tempering. A more accurate word is actually pre-crystallising.
Pre-crystallising means creating stable crystals that multiply by themselves. They form while the melted chocolate cools, at around 27 °C. From 30 °C downwards, however, unstable crystals form first. These are not very robust: by warming the chocolate slightly, you melt them away again. The stable crystal does survive that gentle warming, and multiplies.
Temperature, time and movement
The right temperature is necessary, but not sufficient. Time and movement are at least as important:
- Temperature: cooling and reheating must happen quickly enough to limit the formation of unstable crystals.
- Time: the stable crystals need time to multiply.
- Movement: stirring speeds up the cooling and distributes the stable crystals evenly throughout the whole mass.
The right temperatures for each type of chocolate
Milk chocolate contains two fats, cocoa butter and milk fat. As a result, its working temperature is always about two degrees lower than that of dark chocolate. For white chocolate, take off another two degrees.
| Chocolate | Working temperature | Maximum for the block method |
|---|---|---|
| Dark | 31–32 °C | 34.5 °C |
| Milk | 29–30 °C | 32.5 °C |
| White | 27–28 °C | 30.5 °C |
You can read more about the differences in The difference between dark, milk and white chocolate.
Six tempering methods
Which method you choose depends on the size of your workshop, the quantity of chocolate and the extent to which your production is automated.
1. Tabling
The oldest method. You pour two thirds of the warm chocolate onto a marble or granite worktop, which draws heat out of the chocolate. You work the mass continuously with a palette knife and a triangular scraper until it starts to thicken slightly at around 27 °C. Then you add the remaining third of warm chocolate, so that the temperature rises back to the working temperature and the unstable crystals melt away. Tabling is rarely used these days: it is time-consuming, less hygienic and exposes the chocolate unnecessarily to odours and light.
2. The passive method
Lots of time, little labour. You let the melted chocolate cool until a crust forms. That takes a long time, because chocolate is an excellent insulator. The crust contains both stable and unstable crystals. Then, stirring constantly, you gently warm the chocolate again. Interesting for a small-scale workshop: you don’t have to stand over it and can get on with other work in the meantime.
3. A block in the melting tank
Here you start with a block of couverture at room temperature, which you warm up to the working temperature in a melting tank. The block is perfectly and stably crystallised, and when it melts slowly the good crystals are preserved. At first there are usually still too many of them: the chocolate is then too thick. So raise the temperature gradually, 0.5 °C at a time, up to the maximum in the table above. That way you melt away only the excess crystals. More on this in Getting started with a chocolate melting tank.
4. Cooling while stirring
The industrial method. The melted chocolate cools to the ideal temperature under constant stirring. There is no undercooling, so no unstable crystals form either.
5. The seeding method
Quick and easy. You add pieces of chocolate (callets) to the melted chocolate. Those pieces contain a great many stable crystals and act as seed. Keep adding pieces until they melt away less readily and the chocolate reaches its normal working consistency. From then on, regular, thorough stirring is needed to keep the chocolate in perfect condition. A wheel or moulding machine is ideal for that.
6. The full tempering curve
Here the entire mass goes through the curve 40 – 27 – 31 °C. This is done in a tempering kettle, batch by batch. For larger workshops and industrial environments, Mol d’Art builds melting kettles and tempering kettles with a double wall, a closed water circuit and an automatic mixing arm, which melt and temper large quantities of chocolate automatically.
Less manual work, better results
Chocolate is a delicate raw material: light, air and temperature quickly affect its properties. Automating parts of the process does more than save time. The chocolate is also exposed to its surroundings for a shorter time and so retains its character. What’s more, fewer manual operations mean a finer finish and better hygiene.